
I needed a shape to make the mold around, so I took a block of beeswax I had laying around and started working it into shape. First I roughly shaped it on the flywheel itself, to get the size right. The curve was compared against a paper template I made up using a yardstick compass.

Then I heated up a spare section of angle iron with my blow torch, and used that to smooth down the sides. With the blank ready, I printed out an "ATTOPARSEC" label and transferred it across, carving the letters into the wax. Might as well keep up my branding, right?
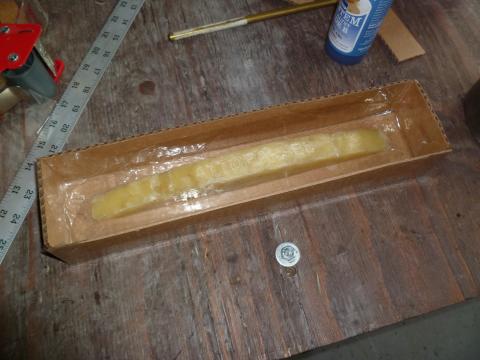
This was affixed (using a bit of melted wax) to the bottom of a small cardboard box I made, and RTV silicone was poured over it. Silicone can take the heat of lead casting fairly well, but it isn't cheap. If I did this again, I'd probably play with sand casting first.
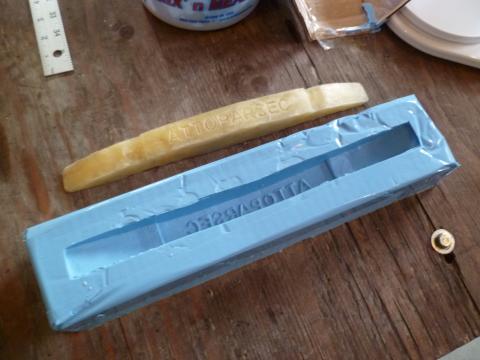
With the positive removed, the silicone mold shows how well it picked up all the details.
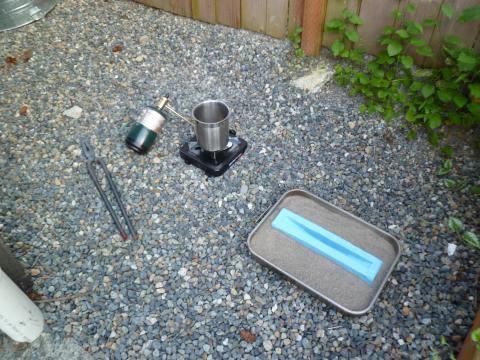
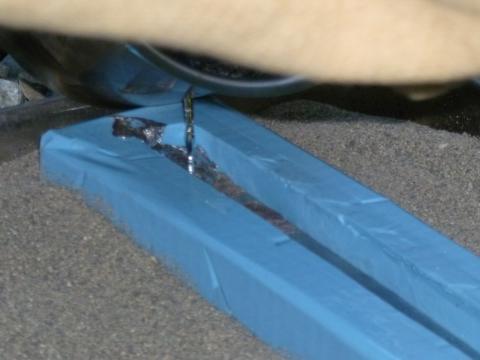
While fairly low temperature, lead casting should be approached with caution. Like all metal casting, it shouldn't be done over concrete. Because lead is, of course, toxic, only do it outside in a well ventilated space. Don't breath the fumes if you can help it! Wash all your clothes and your self immediately after finishing. But other than those worries, it's a pretty easy process. A little propane burner is more than enough to melt lead, and any steel can with fairly thick wall can be used as a pot. I drilled a #19 (0.166") hole for a pouring spout, which also helps strain out the dross. Later I drilled it out to an H (0.266") to get it to flow better.
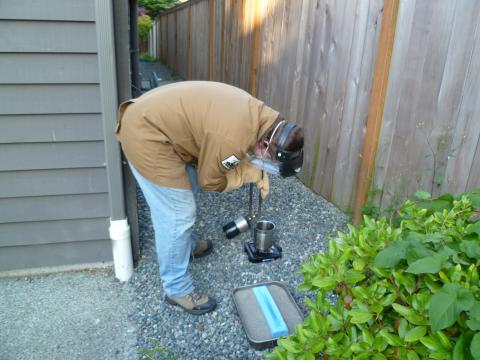
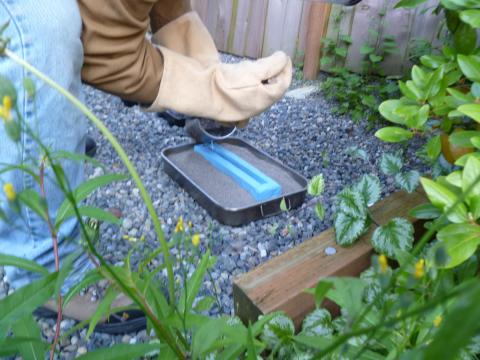
Wearing full safety gear (all natural fibers, long pants and thick coat, leather boots, safety glasses and full face shield, filter mask, casting gloves, hair tucked away) I grabbed the pot using a pair of blacksmithing tongs and poured in the molten lead.
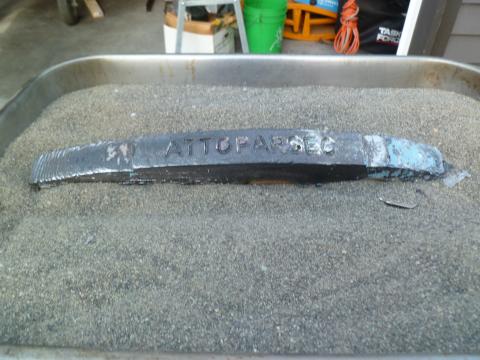
It came out a bit chunky, and not very fast. It was a bit too cool and the hole wasn't big enough, but the result wasn't too bad.
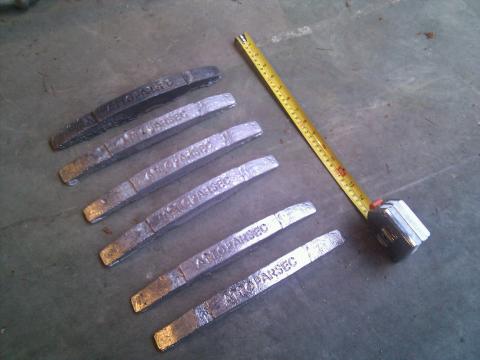
The mold suffered a bit of degradation, but that was worst on the first cast. I used it a total of 6 times, and it could certainly handle a couple dozen more still.
The end result is pretty good, I think. I'm not entirely sure why the first one was such a different color. It was poured at a lower temperature, I think. The exact alloy would have been a bit different, as the later ones had some lead from a scuba diving weight mixed in.
I've only attached 4 of the weights so far, giving the flywheel roughly the same mass as before, though they're slightly more optimally placed. It works quite well and looks very slick. It's a real flywheel finally, not some weird kludge.
This is probably the last major change to the Kalamazoo. It's been fun, but it has already gone on a year longer than I originally planned. There are too many other crazy things waiting to be built!
Great to be here!
ReplyDeletehttp://www.techtipsntricks.com/